
FOMRIX / LOW POLY
Explore modelsLow Poly 3D Model Generator
An image. An idea. A shape you can build on.
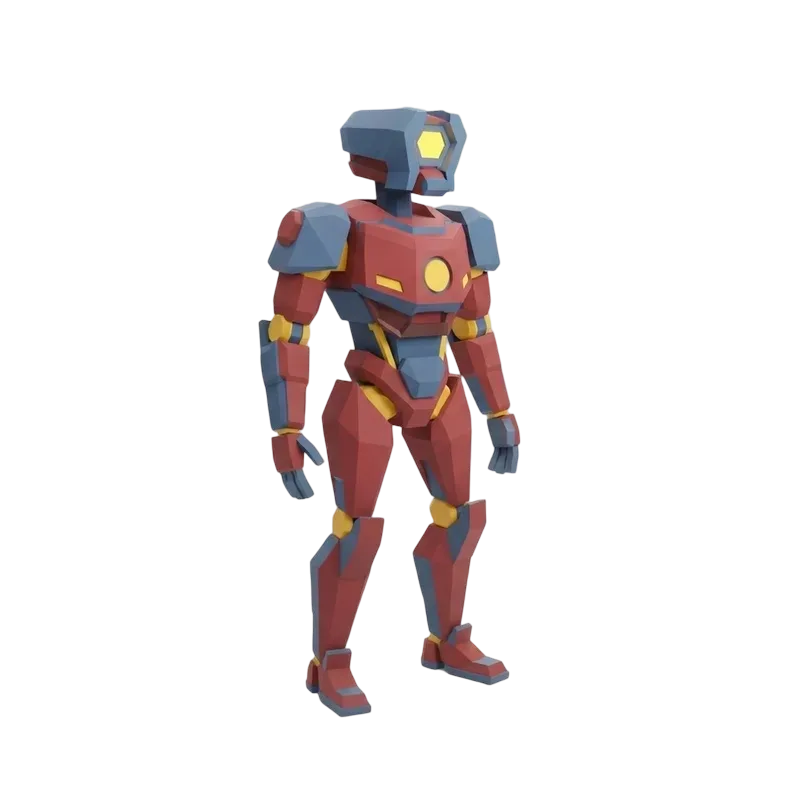
Style referenceLoading 3D
Drag to rotate · Scroll or pinch to zoom4,831 triangles
Choose a geometry budget. Create from an image or text. Inspect every angle.
Less geometry. Different trade-offs.
Compare three versions of the same robot. Watch the outline, then switch to wireframe to see where geometry disappears.
3,603triangles
Compare the silhouette and the spacing between parts.
87 KB · GLB
One reference mesh, simplified locally and compared in clay. Simplified files exclude textures. These are not three AI generations or guaranteed face-budget results.
Style referenceLoading 3D
Drag to rotate · Scroll or pinch to zoom3,603 triangles
Faces describe a target. Triangles describe this loaded file. Textures and compression also affect file size.
Small worlds start with one object.
Twelve different subjects. Open the image, rotate the mesh and look beneath the surface.
GLB
Little dragon
4,986 triangles · 311 KBStone watchtower
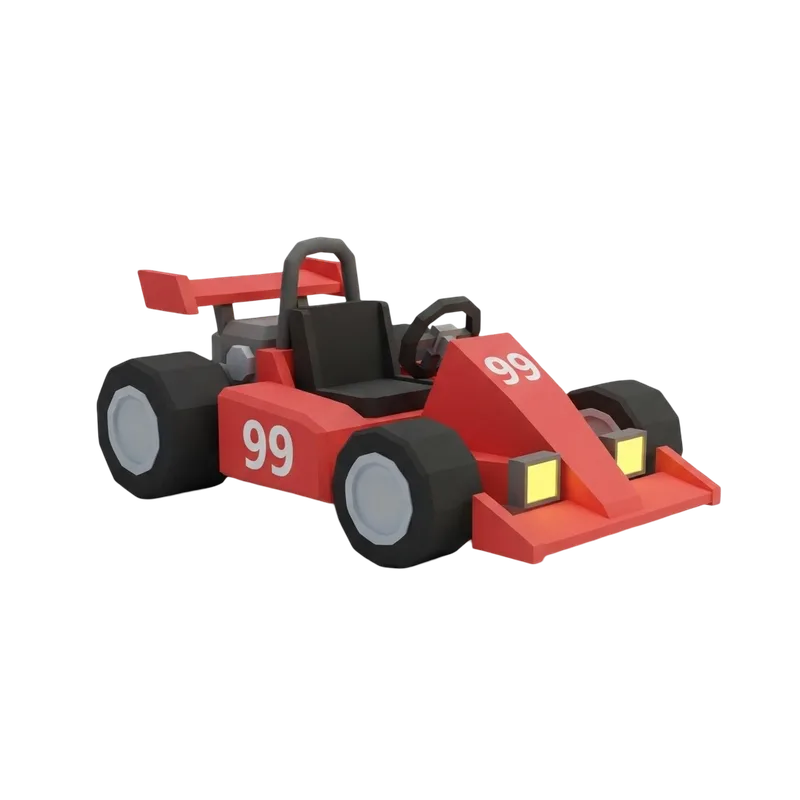
4,804 triangles · 337 KBRed go-kart
4,896 triangles · 291 KBCartoon dog
4,417 triangles · 320 KBCozy cottage
4,203 triangles · 367 KBCamper van
4,785 triangles · 324 KBBlocky adventurer
4,676 triangles · 337 KBViking figure
5,062 triangles · 432 KBCheckpoint flag
4,829 triangles · 491 KBAngular fox
4,777 triangles · 439 KBFire hammer
3,676 triangles · 365 KBExplore these model references to compare silhouettes, geometry and surfaces before preparing your own generation.
Give the model a clear starting point.
A complete outline tells more than a busy scene. Start with one object and make its important parts easy to see.
01Input
023D model
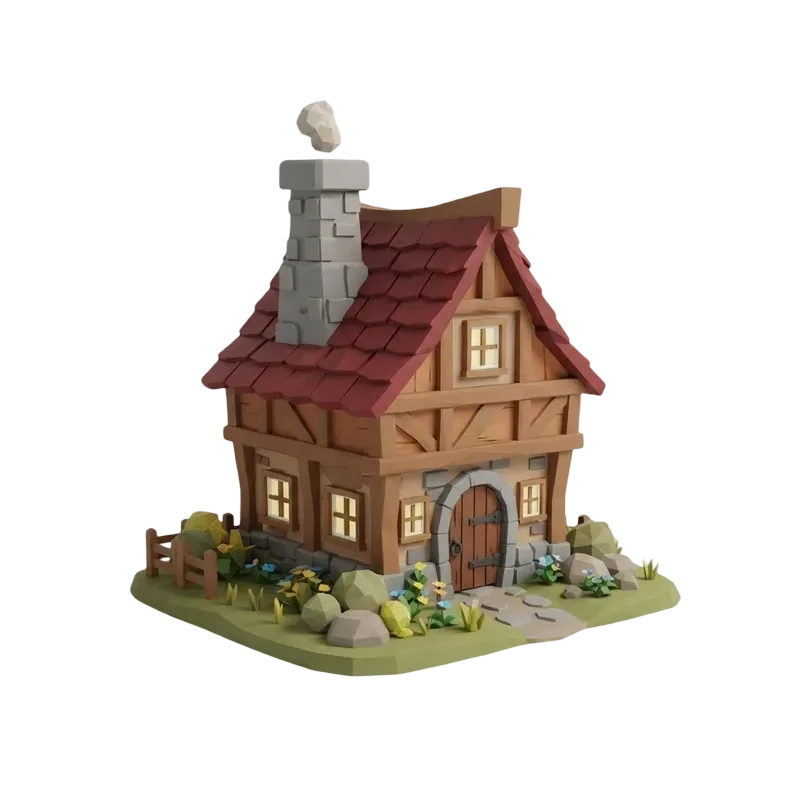
Style referenceLoading 3D
Drag to rotate · Scroll or pinch to zoom4,203 triangles
- 01
Keep the whole object
Leave space around the head, base and extremities. Cropped parts force the generator to guess.
- 02
Separate the important parts
Visible gaps between arms, legs and handles help explain how the shape fits together.
- 03
Check the hidden side
One image cannot show every surface. Rotate the result and inspect the back and bottom before using it.
Describe the shape before the decoration.
Build a useful request from a subject, proportions, visible parts and a simple color scheme. Edit a suggested prompt below.
01Subject02Proportions03Separate parts04Color blocks
Keep requests consistent: tiny geometry budgets and intricate detail compete with each other.
Explore text to 3D ↗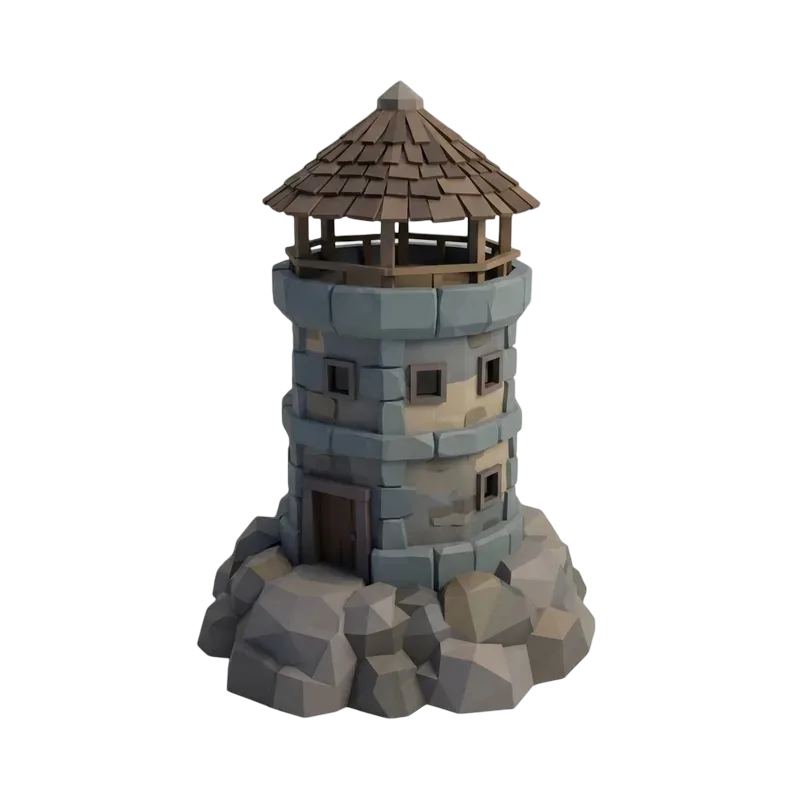 Style reference
A faceted look is not a face count.
Flat shading changes how a surface catches light. It does not remove triangles. Inspect both the appearance and the mesh.
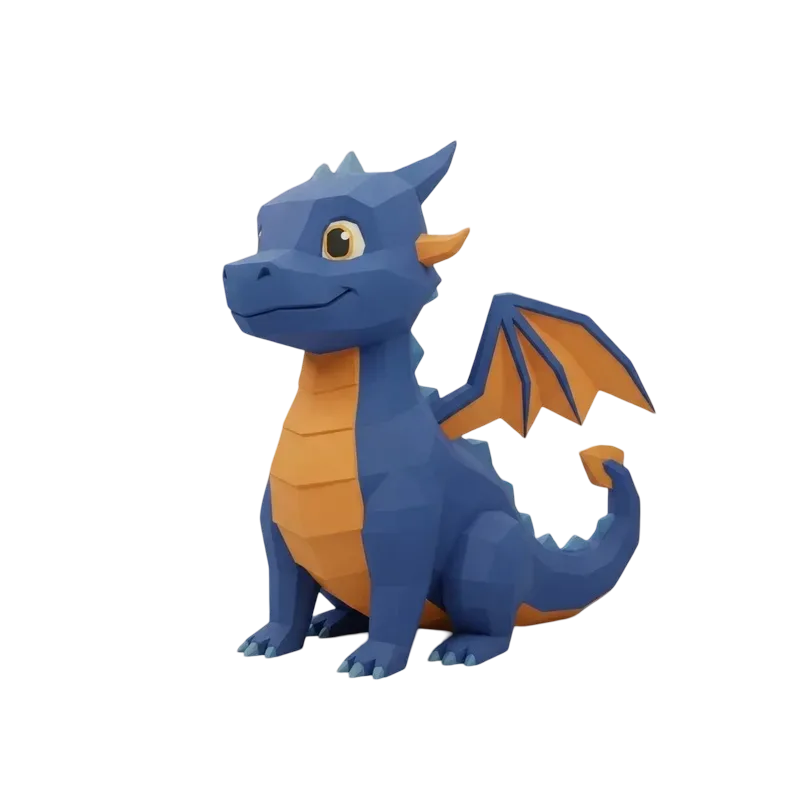
Style referenceLoading 3D
Drag to rotate · Scroll or pinch to zoom4,986 triangles
Create a low poly character you can inspect.
Review two very different full-body concepts. Check limb spacing, accessories and the back before planning the next stage.
Inspect limb spacing and the back of the outfit.
These are static meshes. A moving character still needs rigging, skin weights and animation.
Explore 3D character creation ↗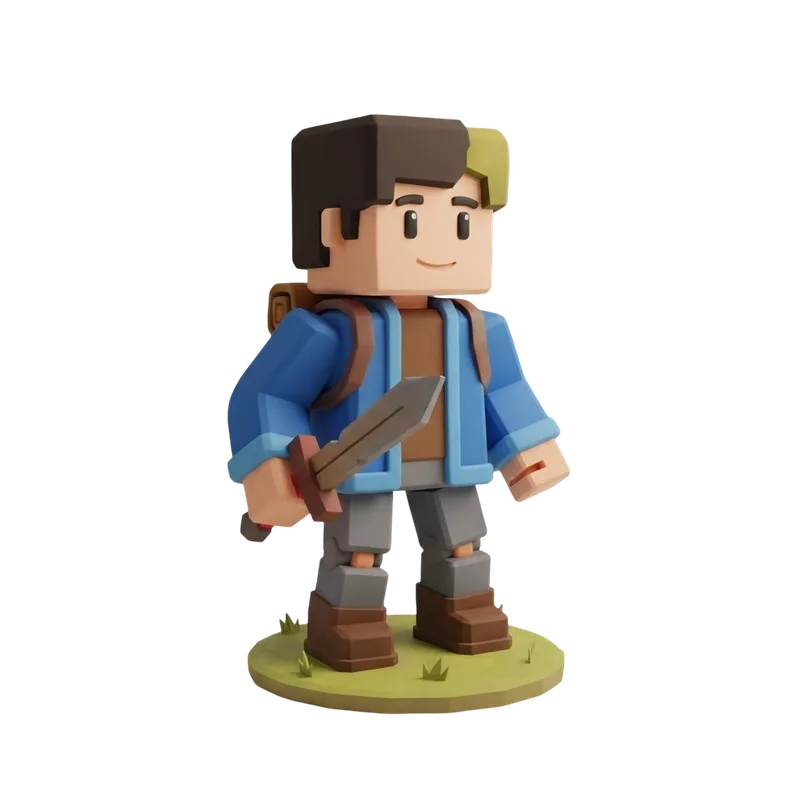
Style referenceLoading 3D
Drag to rotate · Scroll or pinch to zoom4,676 triangles
Generate, simplify or make a flat image?
“Low poly generator” can describe different tasks. Choose the starting point that matches yours.
| You have | You need | Next step |
|---|---|---|
| An image or an idea | A new 3D mesh | Use this generator and continue in Studio. |
| An existing high-poly mesh | Fewer faces in that same file | Use mesh simplification or remeshing in a 3D editor. |
| A photo for an illustration | A flat geometric image | Use a 2D image effect. It does not contain a 3D mesh. |
Why build your starting point in Fomrix?
Look beyond the front
Rotate the model and compare surface, clay and wireframe views before deciding what to keep.
Keep your setup together
Your image or prompt, face budget and texture choice carry into Studio for review.
See the credits first
Start with Economy H3.1 for fewer credits, or choose P1 for targets below 500 faces. The input mode and texture also affect the quote.
One setup. Three practical steps.
- 01
Add your subject
Upload a clear image or describe a single object. Start from an example if you need a reference.
Choose image ↗ - 02
Review in Studio
Choose your face budget and texture. Your input and estimate continue in Studio; sign in when ready to generate.
Target faces ↗ - 03
Inspect, then download
Check the back, bottom and thin parts. Review the actual mesh statistics and download the available result.
Start with GLB ↗
Choose what happens after generation.
Use a prop to test a scene before investing in final production. In your editor, check scale, orientation, materials and collision. A low triangle count alone does not make an asset game-ready.
- Scale & orientation
- Back & underside
- Collision needs
Start with GLB
GLB packages geometry and supported materials together. Reopen the downloaded file in your destination software to verify it.
Open GLB viewer ↗Need a print instead?
STL contains geometry without color textures. Converting a file does not repair the mesh or guarantee printability.
Low poly generation questions
What counts as a low poly 3D model?
There is no useful count for every project. Screen size, repeated objects, textures and the rest of the scene all affect the budget. Compare the actual mesh statistics with the details your project needs.
Will the output match my requested face count exactly?
The face setting is a generation target. Read the actual triangle count after loading the result. Requested faces and measured triangles are separate fields and should not be treated as the same measurement.
Can this reduce the polygons of an existing model?
This page creates a new mesh from text or an image. It does not decimate an uploaded 3D file. Use a mesh simplification or remeshing workflow for that task.
Does a lower face budget use fewer credits?
Not by itself. Fomrix credits follow the input mode, AI model and texture setting. The current estimate is shown beside the controls and reviewed in Studio before generation.
Is the low poly generator free?
You can explore models and prepare a setup without signing in. Generation uses Fomrix credits. New accounts receive trial credits under the current offer; whether they cover a generation depends on the selected settings.
Can I use the result in a game, on the web or for printing?
Start by checking the downloaded GLB in your destination software. Validate scale, materials and geometry. Rigging, collisions and print preparation are separate steps. STL conversion removes color textures and does not automatically repair geometry.
How can I turn a photo or text prompt into a low poly 3D model?
Choose Image and upload a clear photo of one object, or choose Text and describe its shape, proportions and colors. Select a model, target faces and texture, then continue in Studio. Your input and settings are restored there for review before you sign in and generate.
What is the cheapest way to generate a low poly model in Fomrix?
Choose Economy H3.1. Text with geometry only uses 10 credits; standard texture uses 20. An image uses 20 credits for geometry or 30 with standard texture. These are generation credits, not a subscription requirement. Changing only the face target does not change the price.
Should I choose H3.1 or P1 for a low poly asset?
H3.1 is the lower-credit starting point and accepts targets from 500 faces. P1 accepts targets from 50 faces and costs more. Start with the geometry your object needs; choose P1 when the lower target range matters. Inspect the actual result rather than treating the requested count as a guarantee.
Should I choose 2,000, 5,000 or 10,000 faces?
Use 2,000 as a starting target for a simple background prop, 5,000 when the silhouette has more parts, and 10,000 when curved or thin details need more geometry. These are starting choices, not engine limits. Inspect the actual triangle count and test the complete scene on your target device.
Can I make low poly characters for a game?
You can create a static full-body character mesh from an image or text. Show the whole body and leave visible gaps between limbs. Before gameplay use, inspect the back and joints, then prepare rigging, skin weights, animation and collisions as needed in your game workflow.
Will fewer polygons make my model load faster on a phone?
Fewer polygons can reduce geometry data and rendering work, but texture resolution, compression, materials, draw calls and network speed also matter. Check both the GLB size and its textures, and test it on a real phone. A lower face target alone does not guarantee a smaller download or smoother scene.
Give your next idea a shape.
Choose your subject. Set the budget. Keep building in Studio.
Generate in Studio